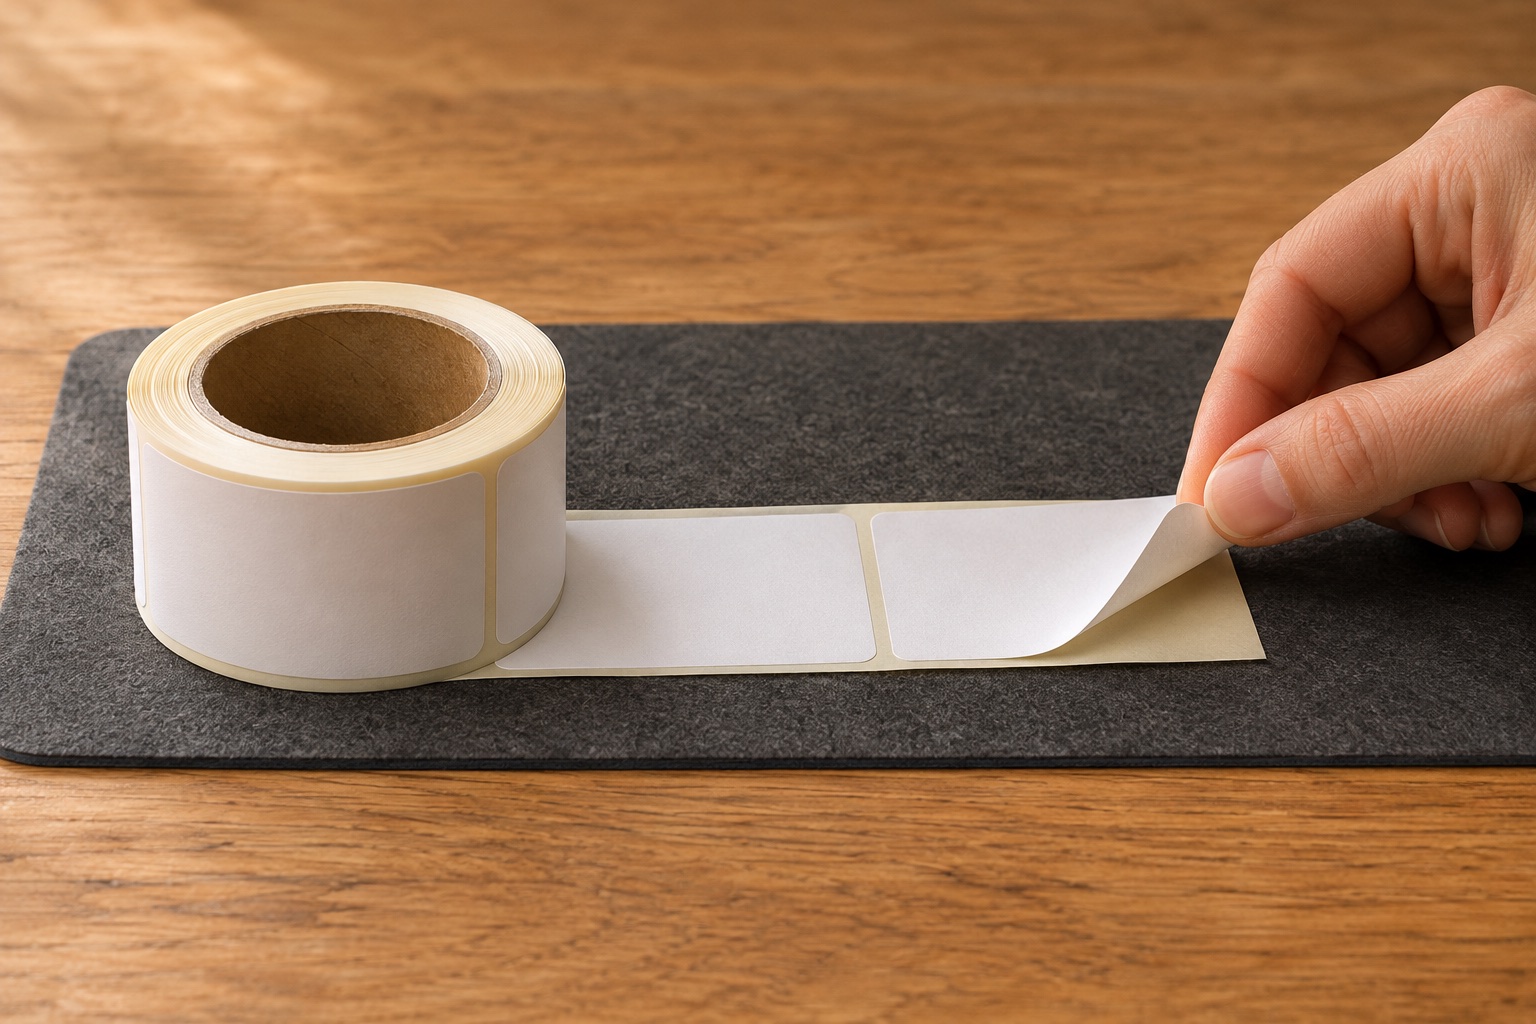
Identify what needs to happen between printing and sticking
Watch a few orders go through your bench. You might need to peel a finished shipping label, apply a short product sticker, or feed blank labels into the printer. Write down the part that slows you down. A useful dispenser lets you take the right sticker without the roll unwinding across the worktop or the liner collecting around the next order.
For a roll of short stock labels, a peel edge can make the next sticker easier to take. A powered model advances the backing when you remove the presented label. With printed customer addresses, you also need to preserve the sequence and check each address against its parcel. Position the roll so you can see the next label before applying it.
| Packing task | Equipment to investigate | Fit checks before ordering |
|---|---|---|
| Occasional short roll labels | Manual peel-and-present dispenser | Label and backing width, roll fit and the liner exit path. |
| Repeated product or inventory stickers | Powered peel-and-present dispenser | Minimum and maximum label sizes, sensor type and exact stock. |
| Full-size printed parcel labels | Dispenser explicitly sized for that label | Check the full label length and roll, including the core and outside diameter. |
| Blank roll or fanfold stock entering a printer | Printer supply holder | Feed direction, support width and the printer’s media instructions. |
| Labels on A4 sheets | Sheet handling or the pack’s peel system | Keep the sheet flat and take labels in a consistent order. |
A manual dispenser’s loading diagram should show the liner turning around a peel edge. The instructions for a powered machine should also explain its sensor and waste take-up. Use the diagram for the exact model. Tach-It dispenser manuals · U.S. Solid dispenser manual
Measure the label, backing and complete roll
Measure a single sticker across the roll and in the feed direction, then measure the backing width. Check the core’s inside diameter and the roll’s largest outside diameter. Keep those four measurements with the product code. A holder may have room for the backing while a guide or sensor still needs the label itself to fall within a smaller range.
For multiple rows, check whether the dispenser presents a whole row or one sticker at a time. Try the actual arrangement if you use narrow labels side by side. Check how much room is left for your fingers and whether a printed identifier remains visible while the label is partly peeled. Ask for a sample run or use the maker’s stated compatibility for unusual materials.
Check the size limit on a powered dispenser example
The U.S. Solid USS-LD00019 is an example for shorter roll labels. Its documentation lists label widths of 10–115 mm, label lengths of 8–130 mm, a maximum roll diameter of 200 mm, adjustable dispensing speed and a counter. Those limits suit a different range of jobs from a full 4×6 parcel label. Exact 4×6 stock is 152.4 mm long in its usual feed direction. U.S. Solid model specification · Model manual and size table
Check the sensor variant and the material it is intended to detect. U.S. Solid lists separate variants in this family. The dimensions alone do not confirm that an opaque, translucent or clear sticker will stop in the right place. Check the actual UK offer and supplied power connection as part of choosing the machine.
For shorter roll labels applied by hand
U.S. Solid USS-LD00019 label dispenser
A powered peel-and-present dispenser with adjustable speed and a count display for labels within its size limits.
Keep in mind. Its listed 130 mm maximum label length excludes full 152.4 mm shipping labels. Check roll fit, sensor variant and the plug supplied for the UK offer.
- 10–115 mm label width
- 8–130 mm label length
- Counter and adjustable speed
Trial the exact liner and a realistic batch
- Load the roll according to the model diagram, using the guides and backing take-up it specifies. Keep the roll free to turn.
- Present one label and check that it separates without curling excessively, tearing or staying on the backing.
- Take a few labels at your normal pace. Check whether the next label stops where you can grip it and whether the waste liner stays clear.
- Time a short representative batch including picking, peeling, applying and checking. Compare that whole task with the way you currently work.
- After the trial, check that the count matches the labels actually used. Account for damaged stickers and adjustments made during setup.
A fast feed figure describes the mechanism. The pace you can sustain also depends on finding the correct item, positioning the label and checking the result. Place the dispenser within an easy reach of the application area and leave space for the empty backing. Follow the maker’s power-off procedure before clearing waste around a powered take-up. U.S. Solid loading and maintenance instructions
Keep printed labels with the intended orders
For identical product stickers, put finished items in a separate area as soon as the label is applied. For individual addresses, compare the order identifier and recipient with the parcel before peeling the next sticker. Pause the sequence when an item needs a different package, a label reprint or an address check.
Keep spare rolls identified by size and purpose. When you change stock, check the first label again before returning to batch work. If you switch from rolls to fanfold or sheets, review the handling method as well as the paper size. The packing checklist provides a repeatable point at which to match label, item and handover record.
Common questions
What does a label dispenser do during hand packing?
A peel-and-present dispenser bends or draws the backing away so that you can take the label and apply it to the item. Manual and powered versions handle that step in different ways.
Will a label roll holder peel labels for me?
Check its stated function. A printer supply holder supports the roll or fanfold stack as blank stock feeds into a printer. For application by hand, look for a defined peel edge and backing path.
Can any dispenser handle 4×6 shipping labels?
Check both maximum label width and length. Exact 4×6 labels are 101.6 × 152.4 mm. A model limited to 130 mm label length is too short for that feed orientation.
Why does the label follow the backing instead of peeling?
Check the threading diagram, peel angle and the condition of the liner. The label’s material and stiffness also affect how it separates. Trial the exact roll before a long run.
Is a powered dispenser worthwhile for a few parcels?
Time a representative batch first. For a small number of labels, peeling by hand or using a simple manual dispenser may fit the work. A powered model is more useful when repeated peeling slows the same task.