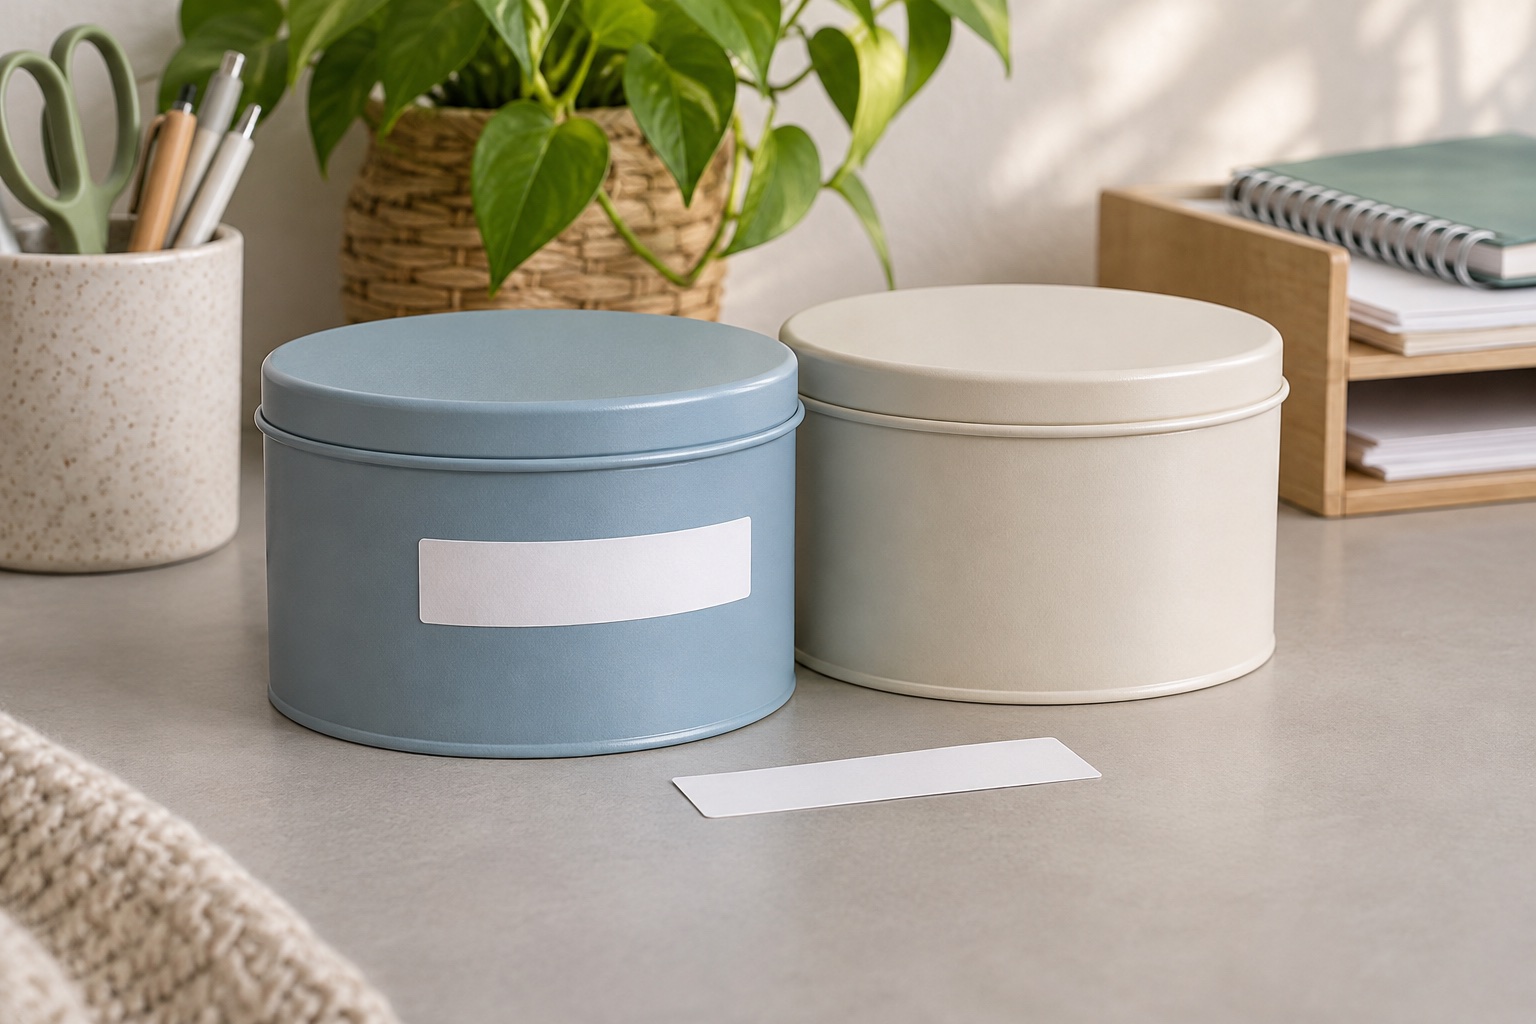
Check where the curve changes
Put a short strip of ordinary paper against the spot you plan to label. On a straight-sided jar it should follow the curve without folding. Move it towards the shoulder or rounded corner and check again. A label placed where a container narrows or curves in two directions has more opportunity to wrinkle or lift.
Check the material as well. Smooth glass, rigid PVC and flexible plastic all give an adhesive a different surface. Texture, coatings and repeated cleaning can affect the bond. A small trial on the actual container is more informative than trying the label on a spare object made from another material.
Choose how the label will sit on the object
| Surface or task | Starting format | Fit check |
|---|---|---|
| Broad, straight-sided jar | Short label on the side | Both ends lie flat without reaching the shoulder |
| Bottle with a narrow straight panel | Short strip in the direction with less curve | The label clears the moulded edges and grip |
| Tight tube or cable | Specified flexible wrap | Diameter and overlap meet the tape instructions |
| Small cable with text you need to read quickly | Manufacturer-supported flag | The joined ends leave the text clear and the flag has room |
| Rounded corner or strongly textured handle | A smoother patch elsewhere, if available | Check the chosen adhesive and try one sample |
On a broad curve, shorten the label in the direction that bends most. On a vertical cylinder, a small label positioned lengthways can have less of its length going around the curve. For a pantry jar, a short contents name may be easier to read and apply than a longer name that stretches towards the shoulders.
A wrap follows the cable or pipe and overlaps itself. A flag folds around the item with two ends joined to create a flat panel. Pick a flag when the applicable instructions allow it and you need a place for the text that can be read from a fixed angle. Leave space beside neighbouring cables and controls for the flag.
Measure diameter and allow for the overlap
For the Brother flexible ID wrap example, Brother specifies an object diameter of at least 3 mm and an overlap of at least 5 mm. Check the diameter at the section that will take the label. A plug, cable boot and cable can have different diameters. Avoid relying on an average measurement taken across all three.
Measure around the object with a paper strip if it is difficult to measure the circumference directly. For a circular 6 mm tube, the distance around is about 19 mm. Adding 5 mm overlap gives about 24 mm of finished label length as a starting point. Preview the length and check where the text will sit before printing. The tape width measures across the strip. The wrap length runs along it.
Brother’s flexible ID technical report used 24 mm-wide labels around polypropylene tubes of 3 mm and 6 mm diameter, applied at room temperature. That describes the test setup. The 12 mm TZe-FX231 is Brother’s black-on-white flexible ID cassette for suitable P-touch machines and is specified for jobs such as labelling cables, wires and PVC tubing. Check your exact model’s tape list before choosing it.
12 mm · flexible cable and tube labels
Brother TZe-FX231 flexible ID tape
Genuine black-on-white laminated flexible ID tape for wraps and flags on compatible Brother P-touch machines. The cassette contains 8 m of 12 mm tape.
Keep in mind. Confirm the cassette code for your printer and the wrap or flag instructions. Brother’s wrap guidance specifies at least 3 mm diameter and at least 5 mm overlap.
- 12 mm × 8 m
- Black on white
- Flexible ID laminate
Prepare the surface and apply from the centre
Clean the area using the object maker’s instructions, then let it dry. Remove any old loose labels or residue where the new one needs to grip. Set a jar or container down so it cannot turn while you line up the label.
For a short adhesive label on a jar, lightly position the centre and smooth out towards both ends. Avery recommends that direction to help avoid creases. Check the ends are seated on the same smooth area as the middle. For a wrap or flag, follow the tape’s instructions for where the two ends meet, then check the text is clear of that join.
Try one label before printing a batch. Handle or wipe the object as you normally would, within its care instructions, and look at the label edges. A label that stays flat on the first application may behave differently after the surface flexes or gets wet.
Change one thing if the label lifts
If only the ends lift, try a shorter label or a position with a gentler curve. If the whole label comes away, revisit the surface preparation and check whether the adhesive is intended for that material. If a cable wrap opens at the join, check the diameter and overlap against the tape instructions.
Keep the layout the same when you try a different material so you can see whether the tape changed the result. Once the sample stays in place under ordinary use, save the design and note the tape code and placement for next time.
Manufacturer application and tape guidance
Checked in November 2026.
Common questions
Why do labels lift at the ends of a jar?
Check whether the label crosses a ridge or begins to curve in two directions at the shoulder. A shorter label on the straight-sided part of the jar has less curve to follow. The material and adhesive still need to suit the surface.
Is a flexible label the same as a strong-adhesive label?
Flexibility helps the label follow a curve. A stronger adhesive addresses how it grips the surface. Look for a tape intended for the shape and material, and test it where you plan to use it.
What is the smallest cable diameter for a Brother flexible ID wrap?
Brother’s wrap guidance specifies a diameter of at least 3 mm and at least 5 mm overlap. For thinner cables, consult the exact model’s flag or identification instructions before choosing a tape and layout.
How do I measure the tape needed for a wrap?
Measure around the cable or tube, then add the overlap required by the tape maker. Check the finished label length in the preview and keep important text clear of the overlap.
Can I use the same tape on glass and flexible plastic?
Check the tape specification for each material and try a sample on the actual object. Two surfaces that feel equally smooth can differ in how well the same adhesive grips them.