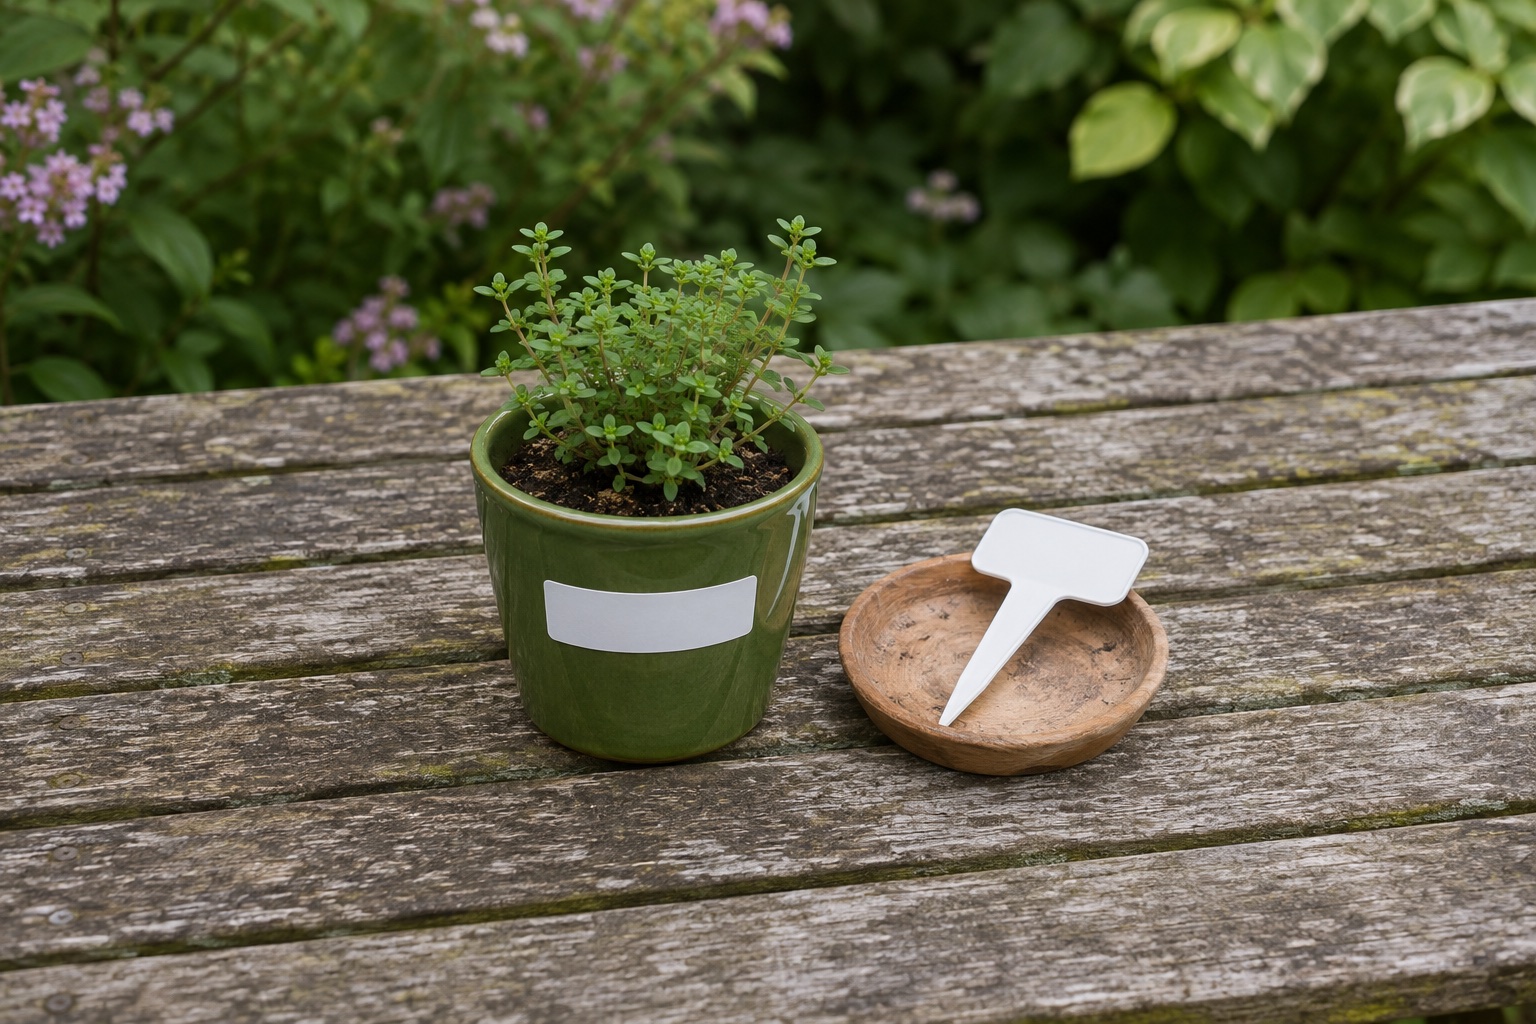
Match the label to the pot and the way you use it
A permanent label on a large patio container can identify the pot. A push-in tag follows a seedling when it moves to a larger pot. Start with what needs to stay identifiable after watering, moving and repotting.
| Job | Format to try | First check |
|---|---|---|
| Smooth, broad panel on a permanent planter | Weather-resistant adhesive label | The full sticker lies flat on the dry surface |
| Small smooth tab on a pot or reusable marker | Narrow compatible laminated tape | Label width, pot material and adhesive fit |
| Rough terracotta or ribbed nursery pot | Separate push-in tag | Enough tag remains visible after insertion |
| Seed tray with varieties that will be repotted | Moveable marker with a short code | The tag can follow the correct plant |
| Long-term label for a bed or perennial | Suitable wooden, metal or slate marker | Legibility and stability in the location |
Look at the pot from where you normally stand. A sticker low on a dark pot may be hard to read behind foliage. A tag at the edge of the pot can keep the name visible without adding adhesive to the pot.
Choose adhesive stock for a flat, suitable panel
On a broad smooth plastic or metal panel, check a label specified for outdoor use and the material. The laser-printable Avery L4773-20 is a permanent polyester option measuring 63.5 × 33.9 mm. Avery lists resistance to water and UV exposure. Use it where the entire sticker can sit flat and the marking can stay on the container.
For a smaller panel, use a narrow strip from a compatible label maker. Brother’s laminated TZe tests include simulated UV exposure on stainless steel. That describes how the tested tapes behaved on that substrate. The finish, curve and handling of your pot still determine adhesion. Trial one on the actual pot before printing a full set. Avery outdoor label specification, Brother laminated tape tests
For fixed identification
Avery L4773-20 permanent laser labels
White polyester labels with permanent adhesive for suitable indoor and outdoor surfaces.
Keep in mind. Measure the flat panel and test the adhesive on the material. Use a changeable label if the wording needs regular updates.
- 63.5 × 33.9 mm
- 480 labels
- Permanent adhesive
Use a separate tag on textured pots or plants that move
A push-in tag works with the compost rather than relying on the pot surface. Garland’s W0855 pack contains 25 white 10 cm plastic plant labels. Check how much of the tag will be visible above the compost and use a marker intended for outdoor writing. Choose a longer or sturdier marker where the pot is deep or the tag will be exposed for longer.
If you already print labels, you can try laminated tape on the flat face of a compatible tag. Make a sample and see how the edges fare when the marker is handled and watered. For a long-term bed label, consider the wood, metal or slate markers discussed in RHS guidance. Garland W0855 product details, RHS outdoor sowing guidance
For plants that move between pots
Garland W0855 white plant labels
A pack of white plastic plant tags that you can place in compost to keep the name with the plant.
Keep in mind. Allow enough space above the compost to read the wording. Use a suitable outdoor marker.
- 25 white tags
- 10 cm long
- Push-in or tie-on
Check placement before printing a tray or bench full of labels
- Choose a position you can read after the plant grows. Keep the label clear of drainage holes, rims and moulded seams.
- For adhesive labels, clean the exterior as the pot maker recommends and let it dry. Follow the label’s application conditions.
- Press on one sample and check its edges after the pot’s ordinary watering and handling. For a tag, check it stands securely and the wording stays readable.
- Apply the rest only after the sample fits the job. Keep a spare tag or a written list of names if similar seedlings are hard to tell apart.
Keep the name and sowing date together
The RHS recommends labelling pots and trays with the seed name and sowing date. Add the variety when several plants share a common name. Shorten the line on a small marker and keep more detail in a notebook. If you move the plant, move its marker before starting on the next pot. RHS guide to sowing seeds indoors
Common questions
What type of label works on a rough terracotta pot?
A separate push-in tag is a practical starting point. Rough or damp terracotta gives an adhesive label an uneven contact area.
Can I use Brother laminated tape outside?
Brother documents tests on laminated TZe tape for water and simulated sunlight under specified conditions. Use the exact cassette’s guidance and test adhesion to your pot or tag.
Will a weather-resistant label stick to a wet pot?
Check the application conditions for the exact adhesive. A label designed for later outdoor exposure generally needs a clean, dry surface when applied.
What should I write on a seedling tag?
Use the plant or variety name and the sowing date. If space is limited, add a short code that links to your notes.
Which label is easiest to move during repotting?
A separate tag can travel with the plant. Move it at the same time as the plant so similar varieties stay identifiable.