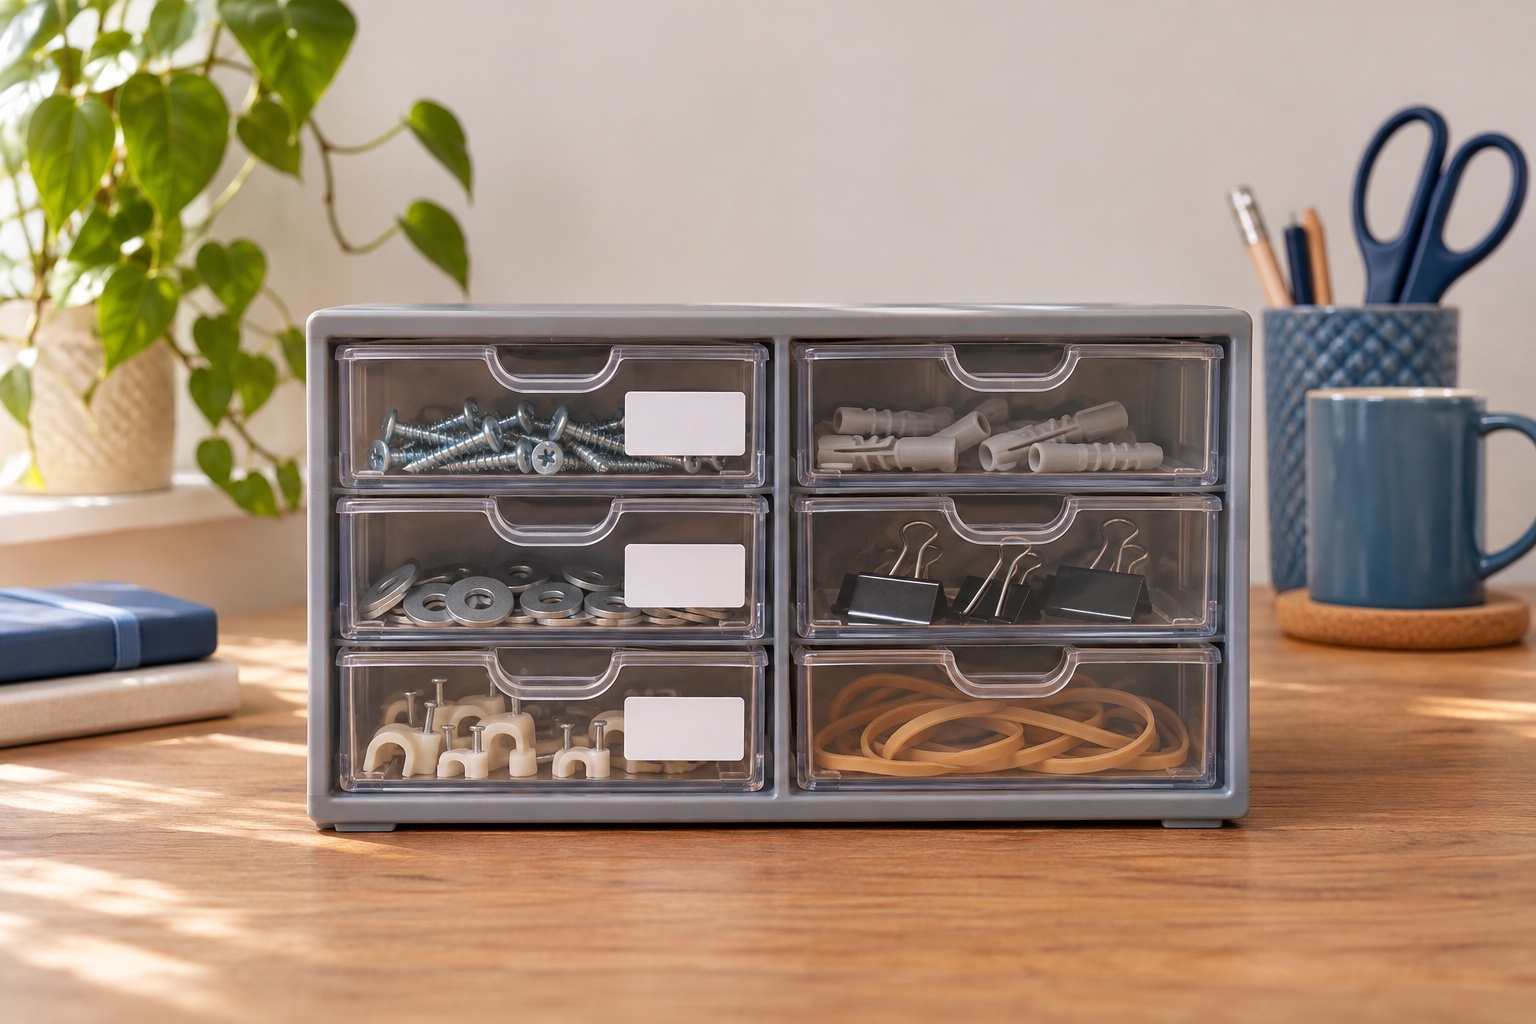
Give each position a stable ID
Stand in front of the cabinet and choose a direction that makes sense when you are looking for a part. A simple scheme uses letters for rows and two digits for positions, such as A-01 through A-08. Put the ID on the frame when drawers can swap places. If several cabinets share a workbench, add a cabinet prefix to the index or to the label.
| Location | Contents label | Why it helps |
|---|---|---|
| A-01 | M4 × 12 mm pan-head screws | Distinguishes diameter, length and head style |
| A-02 | M4 × 20 mm pan-head screws | Keeps a similar part separate by length |
| A-03 | M4 flat washers | Shares a size reference with the matching screws |
Record one line for each drawer with its location, current contents and any part number you need to reorder it. For a mostly empty cabinet, label the positions first and add contents as stock arrives. This also leaves room for sections to change.
Put the distinguishing detail where it is easiest to see
For fasteners, put the size next to a familiar short name. If two drawers differ only by length, keep the length in the same position on each strip. If you use abbreviations, write the full description in the index. Reserve colour for a broad category, such as electrical or hardware, and keep the visible wording clear enough to find an item without relying on colour.
Check how a sample reads from standing height. On low drawers the front may be partly shadowed by the drawer above it. Choose high contrast and avoid frames that crowd the words. Where a 12 mm strip is too narrow for two useful lines, try a wider clear area or put the position code on the frame.
Match the label to the drawer front and how often it changes
Use a paper insert if the drawer has a sleeve. On a smooth fixed front, start with a compatible standard tape. A textured front can limit contact even when the strip looks flat. Brother’s stronger-adhesive TZe-S231 is a 12 mm black-on-white example for supported machines, including the PT-D460BT. Check the actual surface and try one label before committing. Strong adhesive may make a frequent contents change harder. Brother TZe-S231 specification, PT-D460BT compatible supplies
Avoid wrapping a flat label over a moulded grip. Use an uninterrupted area at the edge or put the strip on the fixed frame. Follow the cabinet maker’s cleaning guidance, let the surface dry and press down the full length.
Strong adhesive for textured surfaces
Brother TZe-S231 strong adhesive tape
Genuine black-on-white laminated TZe tape with a stronger adhesive for suitable textured surfaces.
Keep in mind. Test on the actual material first. Use an insert or a documented removable label if you expect frequent changes.
- 12 mm × 8 m
- Black on white
- Strong adhesive
Choose a printer around the width and the way you work
A handheld machine that already takes the right tape is a good fit for occasional changes. For a shared bench, the Brother PT-D460BT has a built-in keyboard and supports tape up to 18 mm. It also offers USB and Bluetooth for supported computer and phone workflows. Choose it if the group needs both typing at the bench and connected layouts. Check your smallest drawer first. The widest cassette a printer takes can still be too wide for the front. Brother PT-D460BT UK product details
For 18 mm tape and Bluetooth
Brother P-touch PT-D460BT Value Pack
A desktop label maker with a QWERTY keyboard, USB and Bluetooth. It handles compatible TZe cassettes up to 18 mm and stores up to 70 label files.
Keep in mind. Use the manual cutter after printing. Check your intended software and the accessories in the exact value-pack offer. If Amazon shows See All Buying Options, open it to compare current new offers.
- Up to 18 mm TZe
- Keyboard, Bluetooth and USB
- Manual cutter
Label one row and test a real pick
- Write the three most similar parts into the index and print a sample for each.
- Put them in the planned positions and try finding one without opening the wrong drawer.
- Adjust the wording or placement if the difference is hard to see. Check the edges of the test label after ordinary handling.
- Finish the row, then print the rest by location. When contents change, replace the contents label and update the index at the same time.
Common questions
Should I put the drawer number or part name on the label?
Use both when the space allows. Put a stable location ID on the cabinet or drawer slot and keep the contents name on a changeable insert or label.
What size tape fits a small-parts drawer?
Measure the flat area around the handle and moulding. A short identifier may fit 9 or 12 mm tape. Try a wider strip only if the surface has room and the printer supports it.
What tape works on a textured plastic drawer?
Check the adhesive guidance for the exact material. A strong-adhesive tape can suit some textured plastics. Apply one sample to a clean, dry spot and check for lifting and removal marks.
How do I label a clear drawer without blocking the contents?
Use a small strip along the top or bottom edge, or place the ID on the cabinet frame. Use a contrasting label face when the contents make clear tape hard to read.
How do I handle parts that move to another drawer?
Keep the location ID fixed, update the contents insert and change the corresponding entry in your index. Move the part and update the record together.