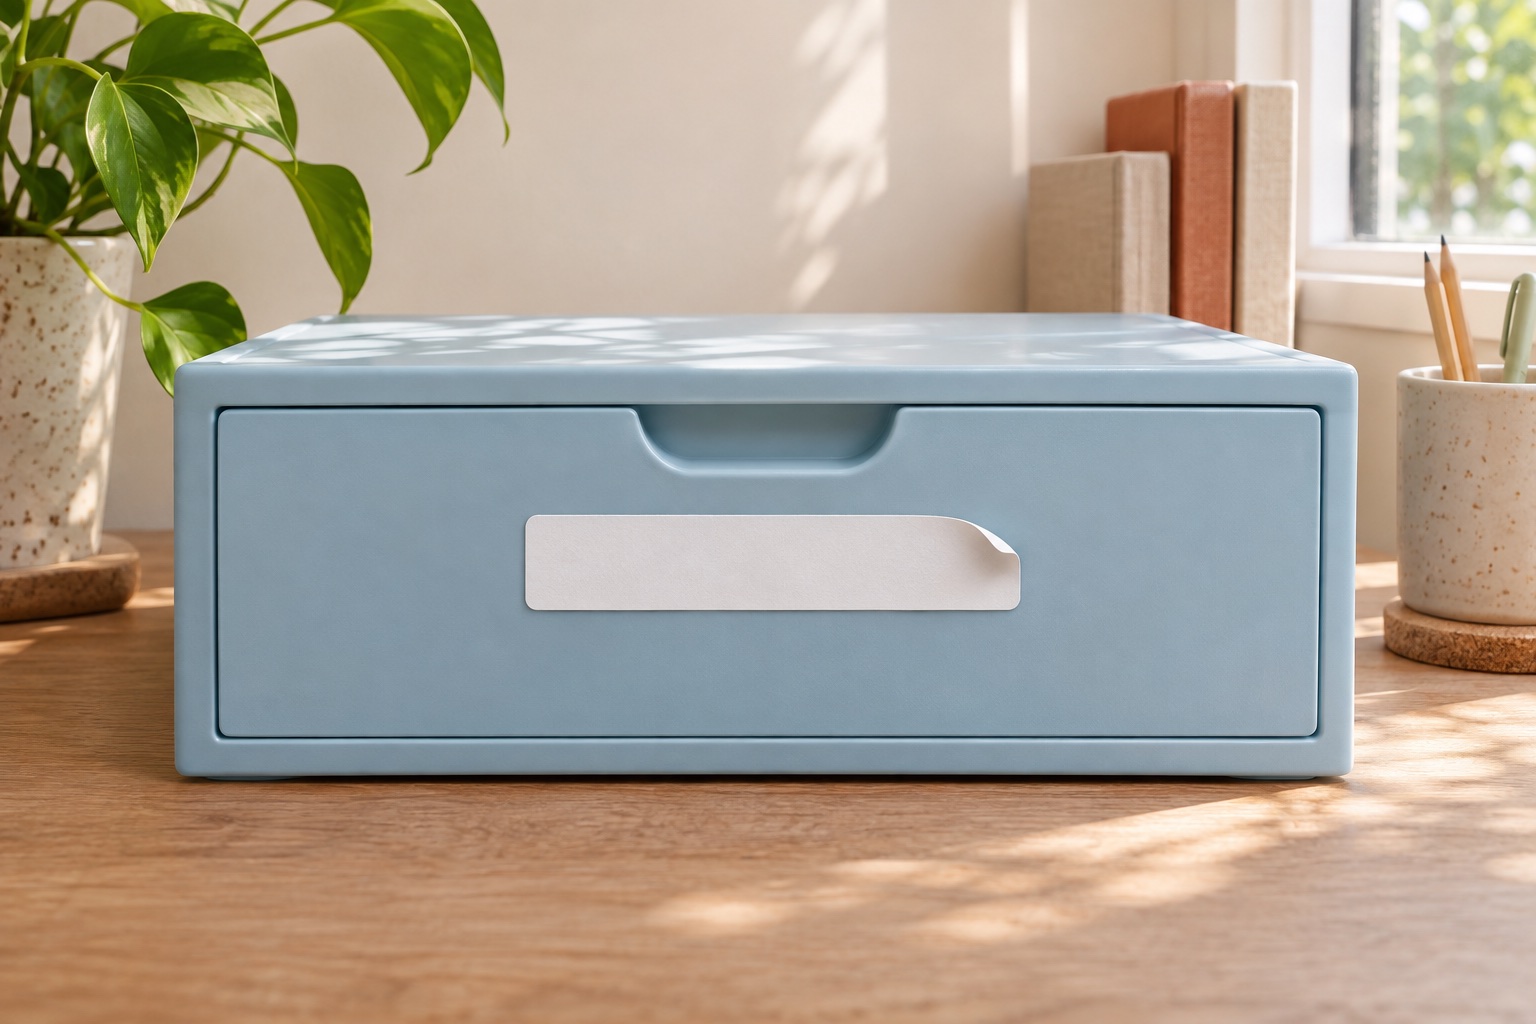
Look at where and when the edges start to lift
Before peeling the failed label, look for the first lifted edge. Note whether the lift appeared during application or after the item was handled, chilled or washed. Photograph it if you are comparing several containers. That makes the pattern easier to spot.
| What you see | First thing to inspect | Next trial |
|---|---|---|
| One corner lifts immediately | A ridge, scratch, dust or a touched adhesive corner | Use a fresh label in a clean, flat spot |
| Both ends lift on a jar | The strip spans a tight curve or taper | Try a shorter strip or a documented conformable label |
| Edges curl after cold storage | Condensation and the tape’s cold specifications | Apply to a dry surface in the specified range and check storage limits |
| Label peels where you grip a drawer | Repeated rubbing or flexing | Move the label outside the grip area |
| Multiple labels lift on one kind of tub | Material and adhesive compatibility | Compare one label approved for the exact surface |
These patterns give you a place to start. A test on the same item will tell you more than a comparison between two different containers.
Prepare the surface and use a fresh label
Clean and dry the exterior using a method approved for the container. Look for grease near handles, cleaning residue or a thin film of condensation. Once the surface is dry, handle the new sticker by its edges and keep your fingers off the adhesive. Put it down once in the intended position and press across the face, including the corners. Follow the label manufacturer’s application pressure and settling guidance. Avery label application guidance
If you have already lifted and handled a label, try a fresh one on the next test. Reusing the same strip makes it hard to tell whether the surface or the exposed adhesive caused the problem.
Reduce the area that has to bend
Set a loose paper template against the object before printing. A broad rectangle can cross a taper, raised seam or moulded handle even on a container that looks flat from above. Shorten the strip, move it to a flatter panel or choose a label specified for that curve. Use a holder or a separate tag if the object has no suitable adhesive area.
On textured plastic, compare the manufacturer’s adhesive information for the actual material. Brother’s test data show different adhesion on polyethylene, polypropylene and steel under the same test method. Treat an adhesive claim as specific to the material and conditions documented. Brother tape technical data
Check the conditions during application and later use
Look up the application requirements before labelling an item straight from cold storage. A label can have a published service range once bonded and need warmer, dry conditions when first applied. For items already cold or wet, check the label and item instructions before applying it. Check exposure to cleaning and rubbing separately. Avery guidance on humidity and labels
Change one thing and inspect the same corner again
- Try the same label size on a clean, dry, flatter patch.
- If the fit is still poor, compare a shorter or narrower label on the same material.
- If the surface is difficult, trial an adhesive the manufacturer specifies for that material.
- Put the item through its usual handling and storage. Check the edges again and record which combination worked.
- If the label must later peel off, test removal after the normal time as well as initial adhesion.
Common questions
Why does only one corner of my label lift?
Check whether that corner crosses a moulded ridge, touches a handle or picked up dust during application. Try a fresh label in a slightly smaller, flatter area.
Why do labels peel from plastic even when it looks smooth?
Different plastics interact differently with an adhesive. Check which plastics the label maker specifies and try a sample on the actual item.
Should I press a lifted corner back down?
Check what caused the lift first. If the adhesive has picked up dust or moisture, replace the label after preparing the surface again.
Is a stronger adhesive the first fix for peeling labels?
Start with surface preparation, fit and application conditions. If a clean, dry, flat area still gives poor grip, test an adhesive specified for the material.
Why did the label lift after going in the fridge or freezer?
Check whether condensation was present when the label went on and whether the label is rated for the storage conditions. Cold application and cold storage are separate specifications.